Are you intrigued by the idea of preserving your favorite low - acid foods but held back by the fear of pressure canning? You're not alone. Many home cooks have reservations about this process, fearing potential safety hazards or complex procedures. However, with the right knowledge and a step - by - step guide, you can overcome these fears and start safely canning your cherished low - acid foods.
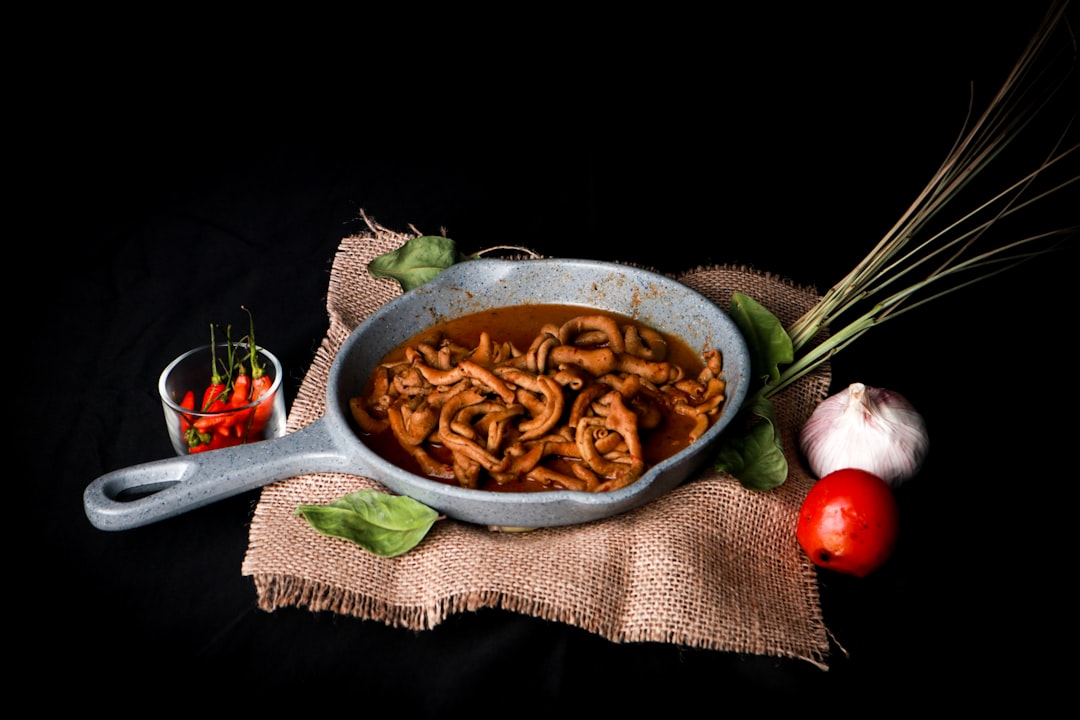
First and foremost, understanding the importance of pressure canning for low - acid foods is crucial. Low - acid foods, such as vegetables, meats, and seafood, have a pH level above 4.6. These foods are more prone to hosting harmful bacteria, especially Clostridium botulinum, which can cause botulism, a life - threatening illness. Unlike high - acid foods like fruits and pickles that can be safely canned using a water - bath canner, low - acid foods require the higher temperatures that only a pressure canner can achieve to destroy these dangerous microorganisms.
Before you start canning, it's essential to gather the right equipment. A reliable pressure canner is the centerpiece of your canning setup. There are two main types: weighted - gauge and dial - gauge pressure canners. Weighted - gauge canners are often more straightforward to use and maintain, while dial - gauge canners provide more precise pressure readings. Additionally, you'll need canning jars, lids, a jar lifter, a funnel, a bubble remover, and a canning rack. Make sure all your equipment is clean and in good working condition.
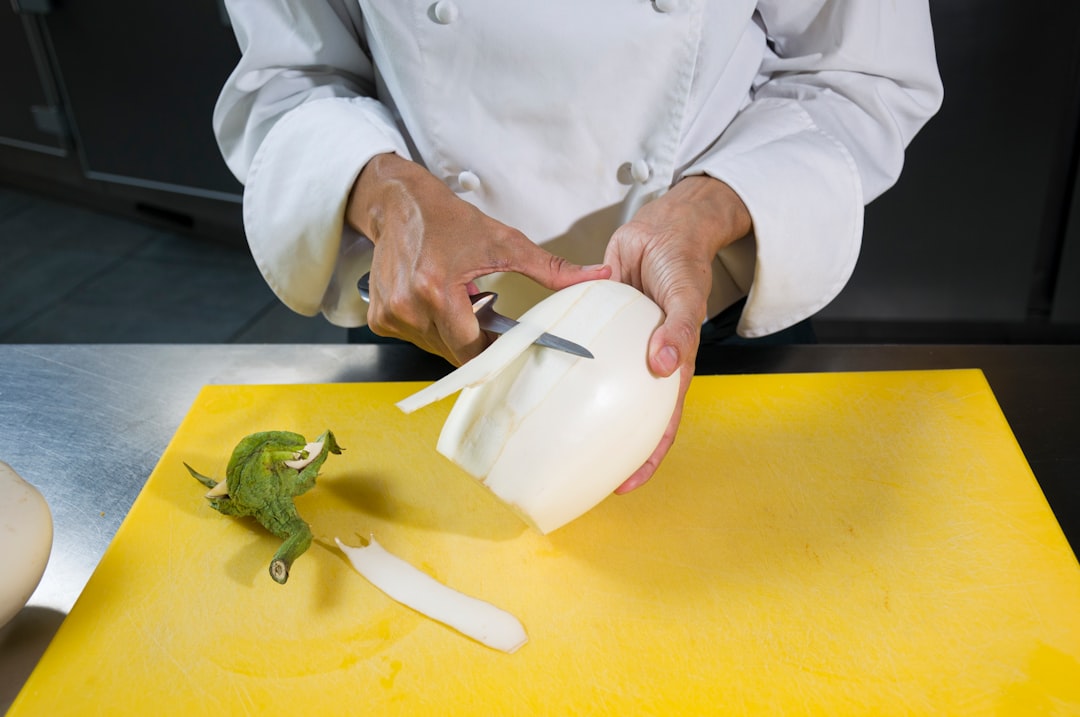
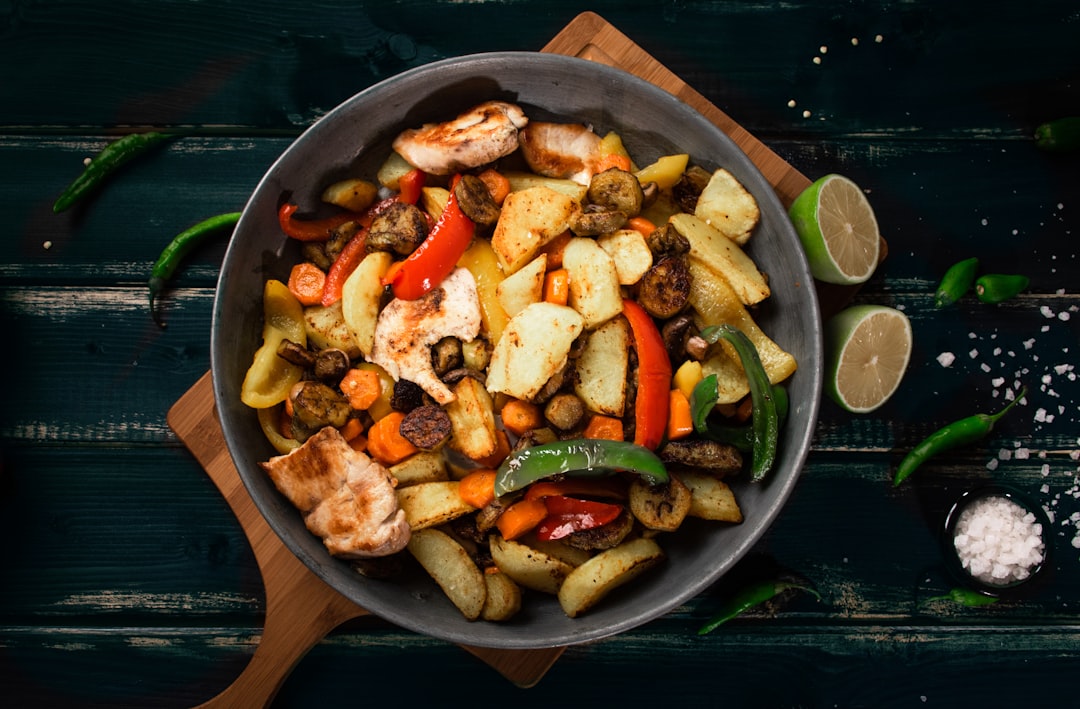
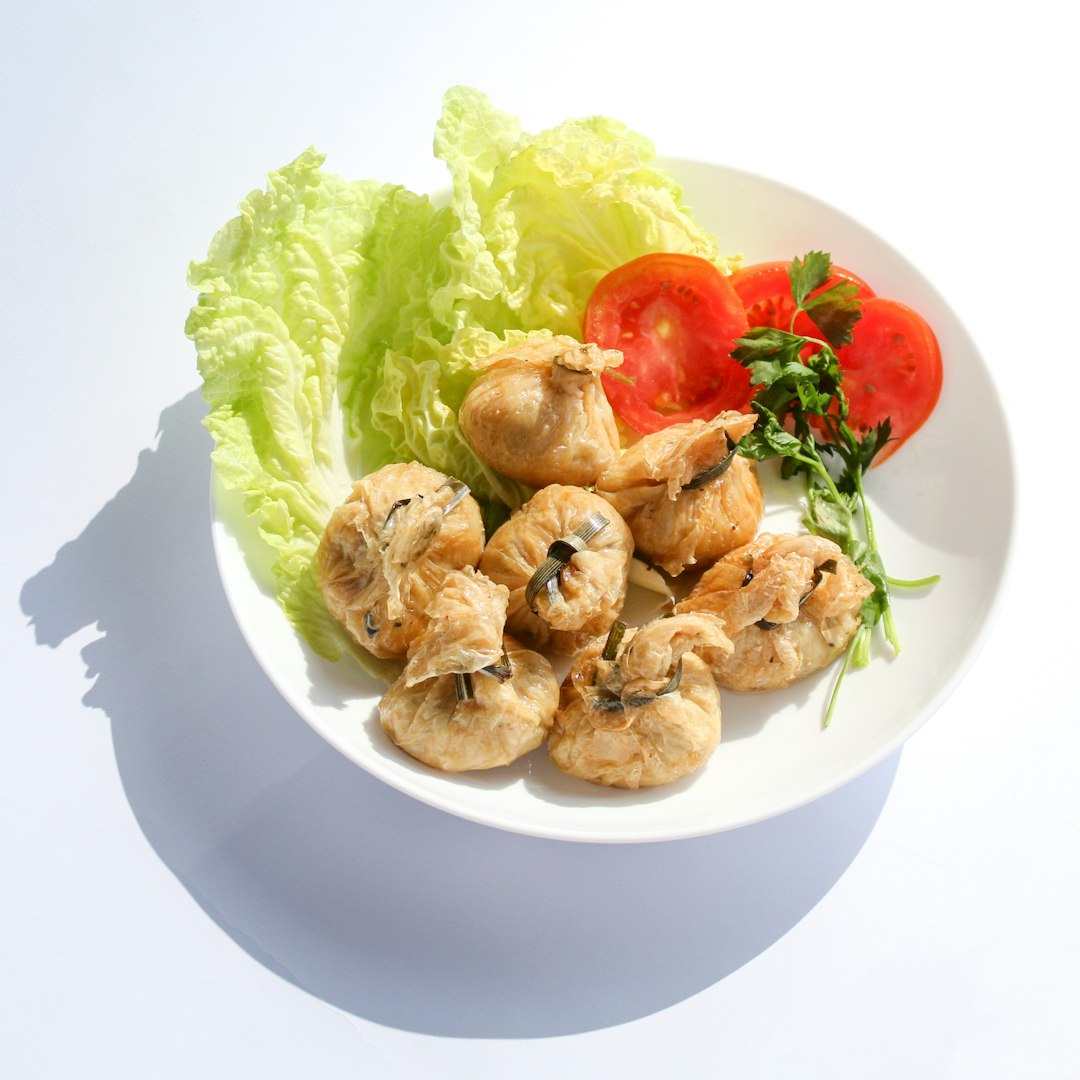
Once you have your equipment ready, it's time to select your low - acid foods. Opt for fresh, high - quality produce or meats. Wash your vegetables thoroughly and trim any damaged or bruised parts. If you're using meat, cut it into appropriate sizes for canning. Remember, the quality of your ingredients will directly impact the taste and safety of your canned goods.
Now, let's move on to the canning process. Start by preparing your jars. Wash them in hot, soapy water and rinse well. Place them in a pot of boiling water to keep them sterile until you're ready to fill them. Prepare your lids according to the manufacturer's instructions. Usually, this involves simmering them in hot water for a few minutes.
Next, fill your jars with your prepared low - acid food. Use a funnel to avoid spills and ensure an even fill. Leave the recommended headspace, which is typically 1 to 1.5 inches depending on the food. This headspace allows for expansion during the canning process. After filling the jars, use a bubble remover to release any trapped air bubbles. Wipe the jar rims clean to ensure a proper seal.
Place the lids on the jars and screw on the bands fingertip - tight. Load the jars into your pre - heated pressure canner, using a jar lifter. Make sure there's enough water in the canner as specified by the manufacturer. Close the canner lid and set the vent to allow steam to escape for a few minutes. This helps remove any air from the canner. Then, close the vent and wait for the pressure to build up to the recommended level for your altitude and the type of food you're canning.
Once the correct pressure is reached, start your timer. Maintain the pressure throughout the processing time. This time can vary depending on the food, but it's usually between 20 minutes to several hours. When the processing time is up, turn off the heat and let the pressure drop naturally. Do not force the pressure to drop by running cold water over the canner or opening the vent prematurely. This can cause the jars to break or result in an improper seal.
After the pressure has dropped completely, open the canner lid carefully. Use the jar lifter to remove the jars from the canner and place them on a towel - lined surface. Let them cool undisturbed for 12 to 24 hours. During this time, you may hear the characteristic 'pop' sound, indicating that the jars have sealed properly.
Finally, check the seals of your jars. Press the center of the lid. If it doesn't move or make a popping sound, the jar is sealed. Store your successfully canned low - acid foods in a cool, dark place. Label them with the contents and the date of canning.
By following these steps, you can overcome your pressure canning fears and enjoy the benefits of safely canned low - acid foods. Not only will you have a supply of delicious, home - preserved meals, but you'll also gain a valuable skill that can save you money in the long run. So, don't let fear hold you back. Embrace the world of pressure canning and start creating your own pantry of preserved goodness today!